As mentioned in my previous post, my stunning friend Delia modelled some dresses i made. We had lots of fun shooting the photos in the botanical gardens and around the city. This reminded me of when my sisters and i would play dress ups and make overs. Its good to know we can still have great times like these. Lots of giggles and loads of fun.
Wednesday, November 17, 2010
A simple and elegant dress for a big day
On Monday i had a job interview and realised that my wardrobe is a bit on the bright/floral side and didnt have anything appropriate to wear. As it was the day before the interview i decided to get cracking and make something corporate.
I raced down to a few fabric stores around town but managed to find some navy polyester (and something) fabric so it wouldnt crinkle from 'the fabric warehouse'. I had some lining at home.
I knew i wanted it to look really simple and didnt have time to scribble up a new pattern. So, i based this garment on the fit of one of my strapless floral dresses i made but incorporated some chest and shoulder cover.
I raced down to a few fabric stores around town but managed to find some navy polyester (and something) fabric so it wouldnt crinkle from 'the fabric warehouse'. I had some lining at home.
I knew i wanted it to look really simple and didnt have time to scribble up a new pattern. So, i based this garment on the fit of one of my strapless floral dresses i made but incorporated some chest and shoulder cover.
To top it off my stunning friend Delia and i had a really fun night with shooting these pics. Dont mean to be captain obvious here but she looks amazing!
Thursday, November 11, 2010
Big Bag, Little Bag
I decided to make a new bag as i am really indecisive when it comes to buying one. I decided that i wanted a little shoulder bag to fit the necessities for town wondering and a bigger bag for carrying the bulkier items in. Thats all i really had in mind at the time as i usually let the fabric inspire the design.
The bigger bag is made of upholstery material as it was the only fabric i could find at the time that was durable enough for its purpose (and still colourful).
For the little bag the lace and leather idea came to me as i was wondering around the haberdashery department of spotlight and decided i wanted to soften the look of the black leather that i had bought. The zip was meant to fit across the back of the bag but due to a change in the dimensions i decided to fit it differently. I decided to add a shoulder pad to the strap for comfort.

The bigger bag is made of upholstery material as it was the only fabric i could find at the time that was durable enough for its purpose (and still colourful).
For the little bag the lace and leather idea came to me as i was wondering around the haberdashery department of spotlight and decided i wanted to soften the look of the black leather that i had bought. The zip was meant to fit across the back of the bag but due to a change in the dimensions i decided to fit it differently. I decided to add a shoulder pad to the strap for comfort.
Back of Lace and Leather Bag.
Friday, November 5, 2010
A Dress for My Sister
The other week i recieved an email from my little sister asking for me to make her a dress for her awards night. Being the artist that she is, she drew me a picture of what she had in mind in 'paint' and attached it in the email.
We then got chatting about details and fabrics and combined our ideas.
End result.....
Wednesday, October 27, 2010
I Love Sleepy Time
Thursday, October 21, 2010
Sweater Dress
Today i made a sweater dress. it is soo comfy and im planning to spend alot of time in it this summer.
It was really quick to make as i recycled a pattern that i made for a hoody a while ago.
Im not really much of an accesory queen so i put tassles on the front so i didnt have to rely on wearing a necklace to liven it up.
Sunday, October 17, 2010
DIY Chalkboards
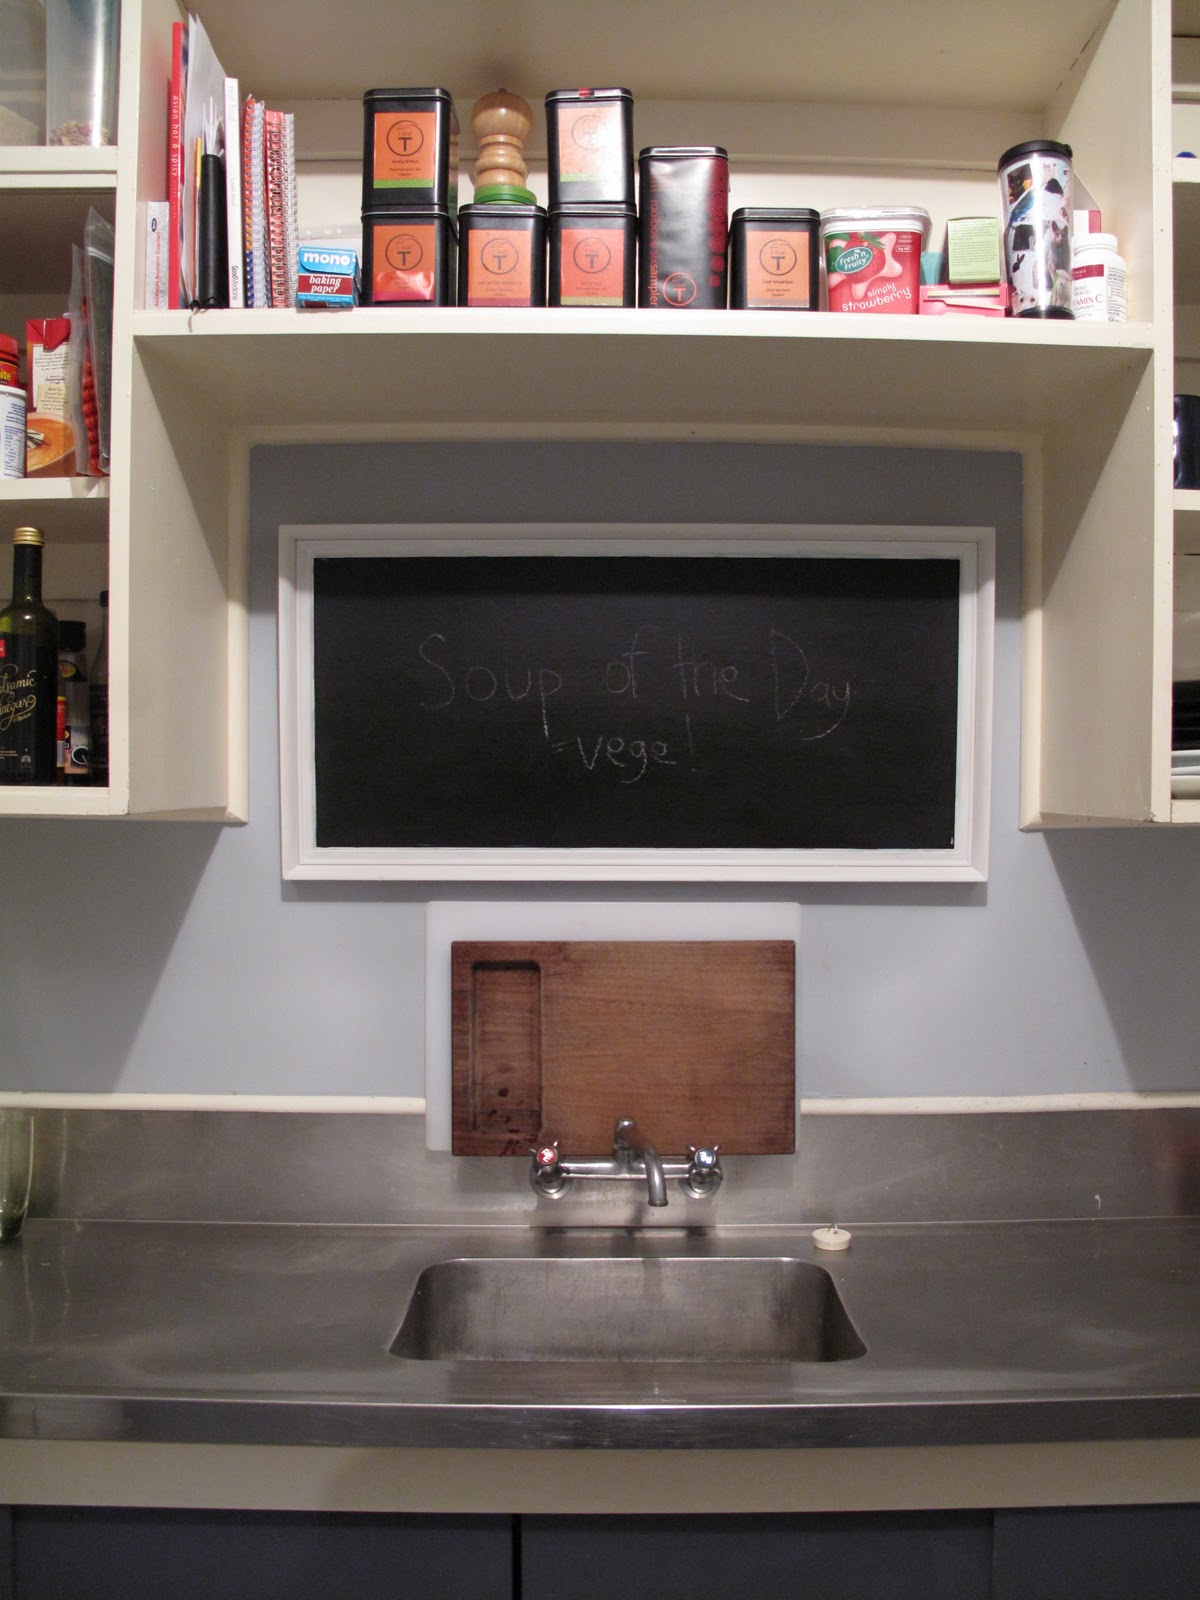
I wanted a few Chalkboards for around the house to write scribbles on. since it was a rainy day i decided to get crafty.
I love photography and decided that i liked the idea of having a blackboard within a frame so i could hang it on the wall amongst my framed pictures. I also wanted to make it a bit of a cheap project so off I went on a bit of a bargain hunt.
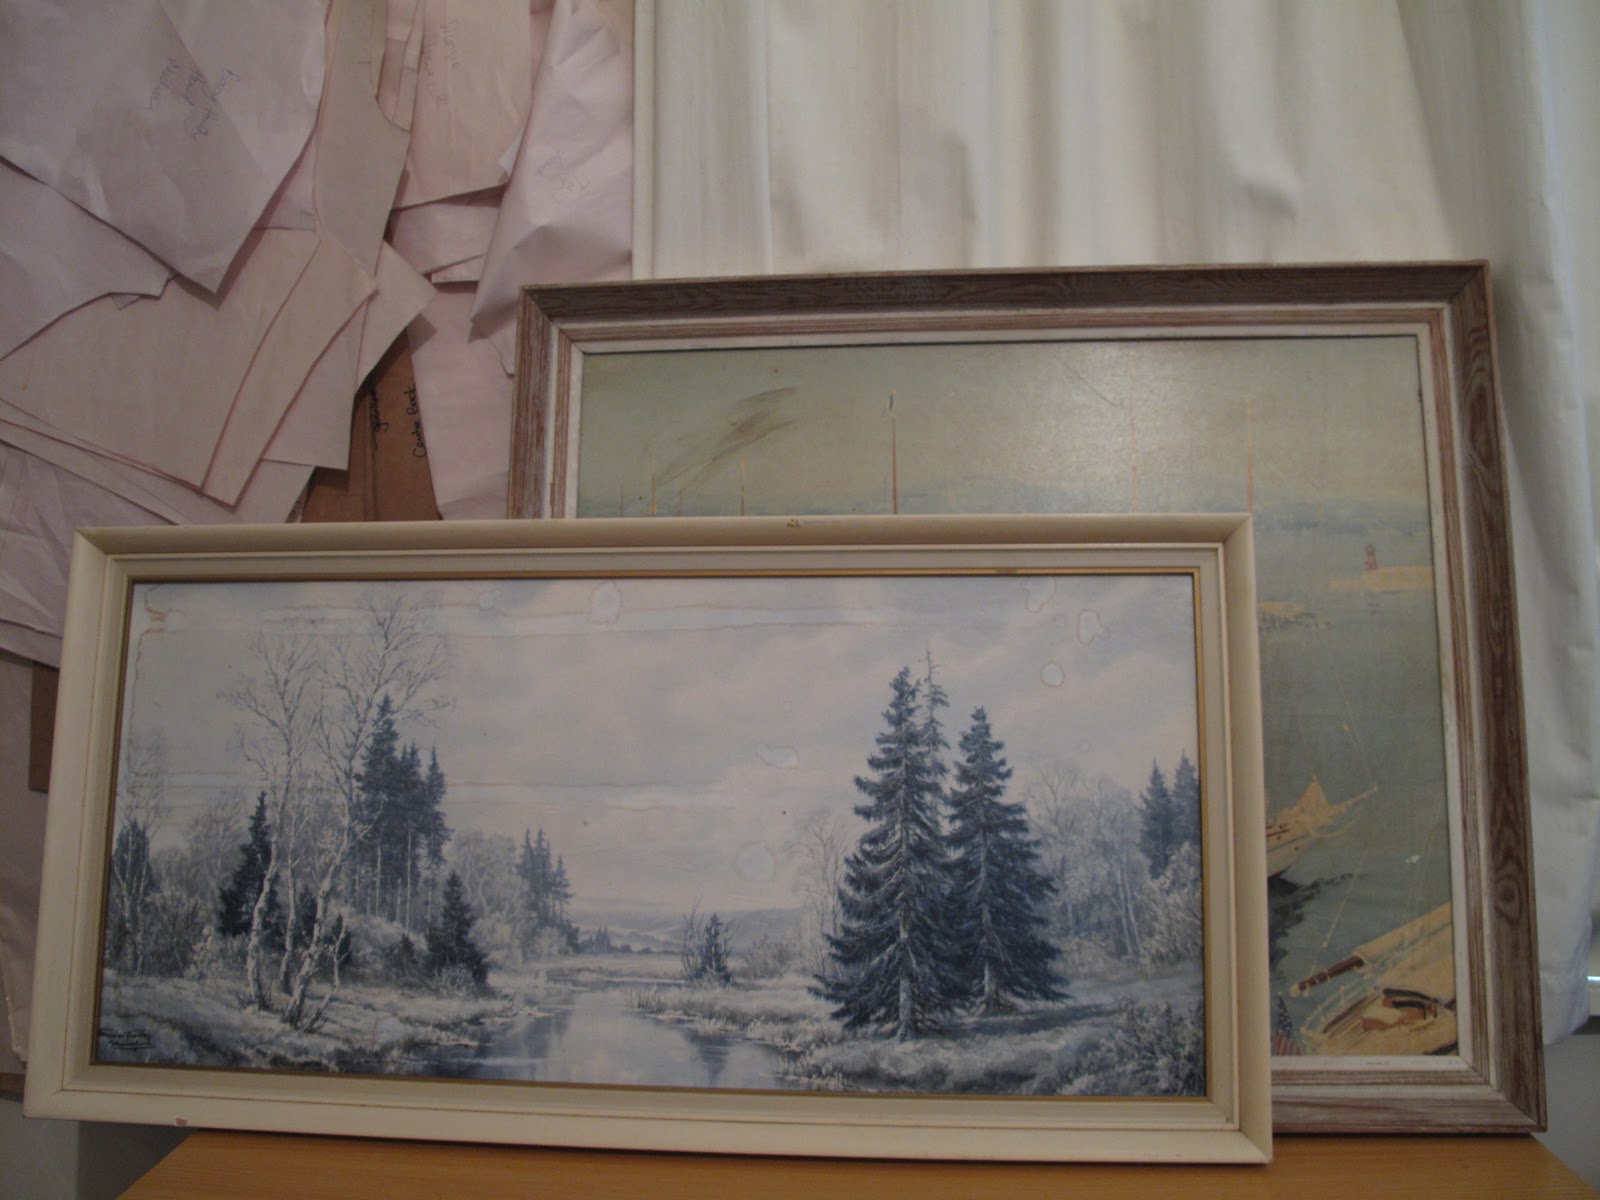
I scored these two second hand frames from Trash Palace for $10. 
Next, it was off to Bunnings for some paint supplies. I bought a 250ml Pot of Chalkboard Paint in black for $12.02 (It is also available in green if you prefer), A test pot of paint (Dulux lyttleton 1/4) for $5.00 and a paint brush for $2.98. The Chalk i got later from Kirks for $1.99
The frames were quite dusty so i gave them a bit of a wash with some warm soapy water and a cloth to prep them for painting. I then took the picture out so i could paint over it without painting the frame.
It was time to get painting... Luckily the pictures i painted over were smooth. If you decide to paint over a painting that has texture like an oil painting or a rough canvas you might like to either flip the board over or find/buy a new piece of board to fit.
I applied two coats of Black Chalkboard paint. (when making your own you might need to read the instructions on how many coats are required)
While the boards were drying i decided to paint one of the frames with the test pot of paint i mentioned earlier. I decided to paint only one of the frames as i liked the character of the other and decided to leave it as it was. (when making your own you might like to add your own personal flair and paint it a nice bright colour or even multiple colours.)
Once the frames and the boards were dry it was time to put the two together.
Time to hang them up...
All up this cost me $32 for two decent sized chalkboards which isnt bad and im still left with alot of left over paint for future projects.
Subscribe to:
Posts (Atom)