Thursday, November 11, 2010

Big Bag, Little Bag

I decided to make a new bag as i am really indecisive when it comes to buying one. I decided that i wanted a little shoulder bag to fit the necessities for town wondering and a bigger bag for carrying the bulkier items in. Thats all i  really had in mind at the time as i usually let the fabric inspire the design.

The bigger bag is made of upholstery material as it was the only fabric i could find at the time that was durable enough for its purpose (and still colourful). 

For the little bag the lace and leather idea came to me as i was wondering around the haberdashery department of spotlight and decided i wanted to soften the look of the black leather that i had bought. The zip was meant to fit across the back of the bag but due to a change in the dimensions i decided to fit it differently. I decided to add a shoulder pad to the strap for comfort.

Back of Lace and Leather Bag.

Friday, November 5, 2010

A Dress for My Sister

The other week i recieved an email from my little sister asking for me to make her a dress for her awards night. Being the artist that she is, she drew me a picture of what she had in mind in 'paint' and attached it in the email.

We then got chatting about details and fabrics and combined our ideas.
End result.....

(blog address fail in the picture. I forgot nz)

Wednesday, October 27, 2010

I Love Sleepy Time

This weekend i was lucky enough to spend some quality fabric shopping time with my very talented friend Miss Jackson. After buying some bright fabric and visiting Peter Alexander i was then ready and inspired to make myself some Pyjamas for the Summer.

Thursday, October 21, 2010

Sweater Dress

Today i made a sweater dress. it is soo comfy and im planning to spend alot of time in it this summer.
It was really quick to make as i recycled a pattern that i made for a hoody a while ago.
Im not really much of an accesory queen so i put tassles on the front so i didnt have to rely on wearing a necklace to liven it up.

Sunday, October 17, 2010

DIY Chalkboards


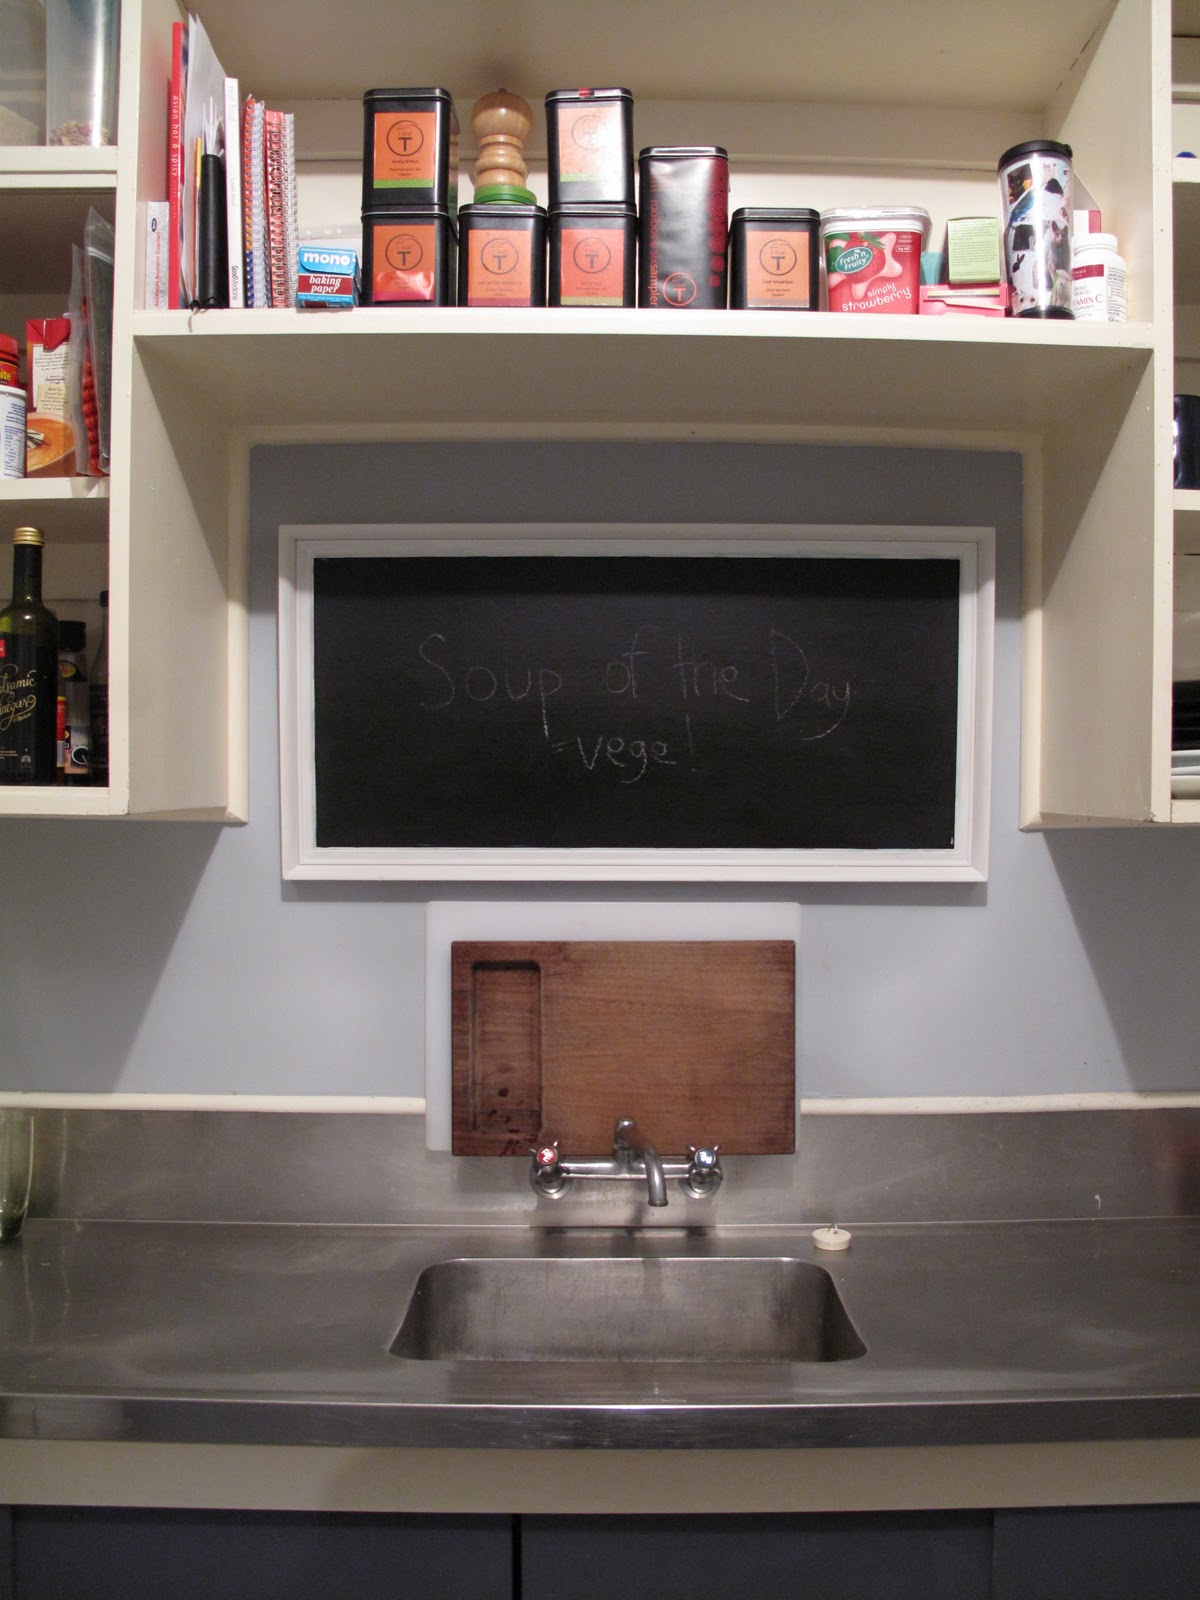
I wanted a few Chalkboards for around the house to write scribbles on. since it was a rainy day i decided to get crafty.

I love photography and decided that i liked the idea of having a blackboard within a frame so i could hang it on the wall amongst my framed pictures. I also wanted to make it a bit of a cheap project so off I went on a bit of a bargain hunt.

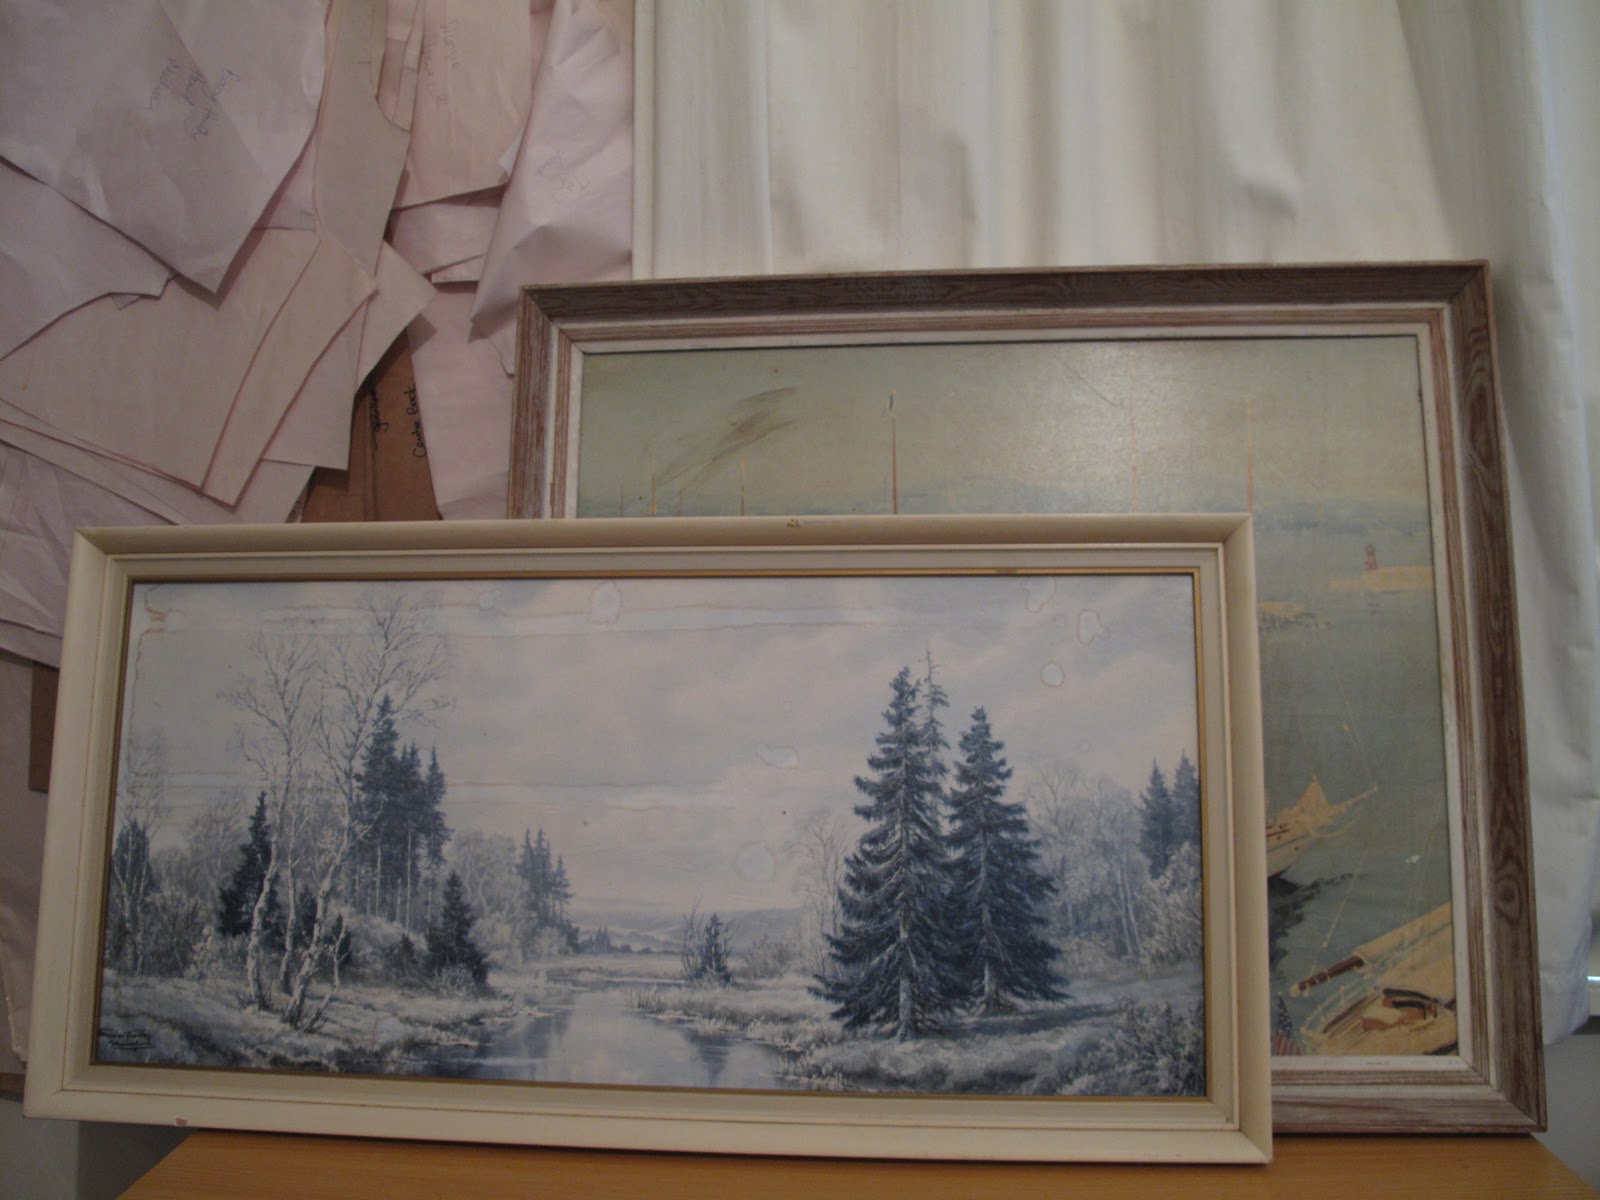
I scored these two second hand frames from Trash Palace for $10.
Next, it was off to Bunnings for some paint supplies. I bought a 250ml Pot of Chalkboard Paint in black for $12.02 (It is also available in green if you prefer), A test pot of paint (Dulux lyttleton 1/4) for $5.00 and a paint brush for $2.98. The Chalk i got later from Kirks for $1.99

The frames were quite dusty so i gave them a bit of a wash with some warm soapy water and a cloth to prep them for painting. I then took the picture out so i could paint over it without painting the frame.
It was time to get painting... Luckily the pictures i painted over were smooth. If you decide to paint over a painting that has texture like an oil painting or a rough canvas you might like to either flip the board over or find/buy a new piece of board to fit.


I applied two coats of Black Chalkboard paint. (when making your own you might need to read the instructions on how many coats are required)

While the boards were drying i decided to paint one of the frames with the test pot of paint i mentioned earlier. I decided to paint only one of the frames as i liked the character of the other and decided to leave it as it was. (when making your own you might like to add your own personal flair and paint it a nice bright colour or even multiple colours.)

Once the frames and the boards were dry it was time to put the two together.

Time to hang them up...


All up this cost me $32 for two decent sized chalkboards which isnt bad and im still left with alot of left over paint for future projects.

Wednesday, September 29, 2010

Oh Baby

With an increase of people i know having children, i have stumbled across the dilema of buying baby gifts. I'm always worried that i will get them something they already have or something that someone else has got for them. So, i decided to take the creative route and try making something instead. A few couples have decided not to check the gender of the baby as they want it to be a suprise on the day. with this in mind, i decided to make neutral coloured clothes so that any gender can wear them. staying away from the typical pink, blue and yellow.

Heres the first attempt. It turned out alot bigger than i expected so i'll take it back to the drawing board and create something a smaller. The fabric is made of all natural fibers which i guess will make mum and dad happy. I also didnt really like the idea of it having a zip as sometimes they can be a bit scratchy.

Sunday, September 5, 2010

Bits and Pieces

 A collection of a few things i have made through out the year, modelled by various people. 
Click on picture for larger image.